After installed SQL Server 2012 from part 2, is time to install SharePoint Server 2013.
Download SharePoint Server 2013 Prerequisites PowerShell Scripts
Even though SharePoint installer will install all the prerequisites via online, but I sometimes prefer that I have a copy offline, because I don’t like to waste my bandwidth to redownload the installers when I want to reinstall my SharePoint for some reason.
There are some PowerShell scripts available in TechNet download, which help us to achieve that. So, get the scripts from there and extract the zip file.
Download Prerequisites
We need to open up PowerShell as administrator (right click and run as Administrator), then navigate to the folder containing that script (if you not prefer to type the path name later on).
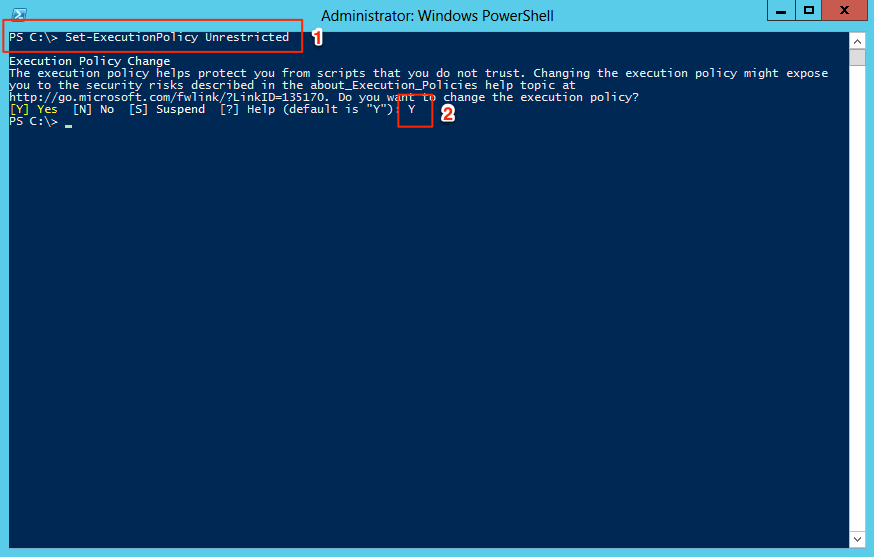
Then execute following command:
Set-ExecutionPolicy Unrestricted
And then key in Y and hit enter.
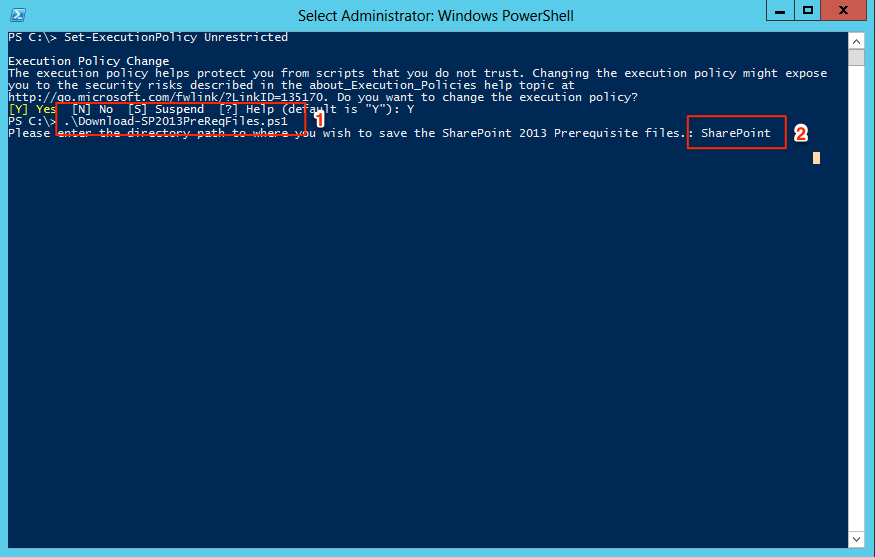
And then when that done, we can execute our Download-SP2013PreReqFiles.ps simply by executing the following command:
.\Download-SP2013PreReqFiles.ps1
When it ask for the download folder, key in the name of the folder created before hand.
If all went well, the PowerShell script will start to download the prerequisites files, and yes, this part we need Internet connection.
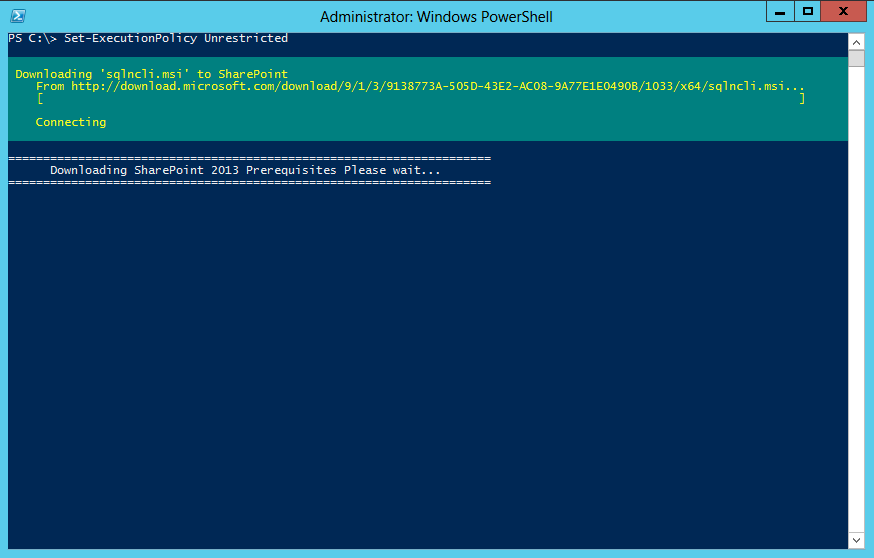
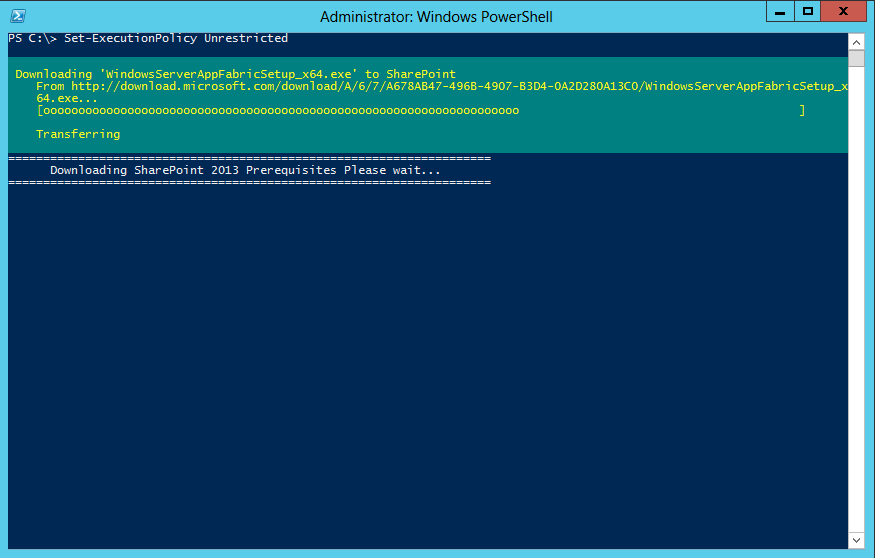
While it downloading, there is a nice little “progress bar” on the screen, showing lots of o.
Before installing the prerequisites, we might need to install some features that we didn’t install when installing Windows Server.
So run the following command:
.\Install-SP2013RolesFeatures
If we were installing offline, we need to mount the ISO or insert the DVD, then we also need to specified the *sources\*sxs folder in the installation media.
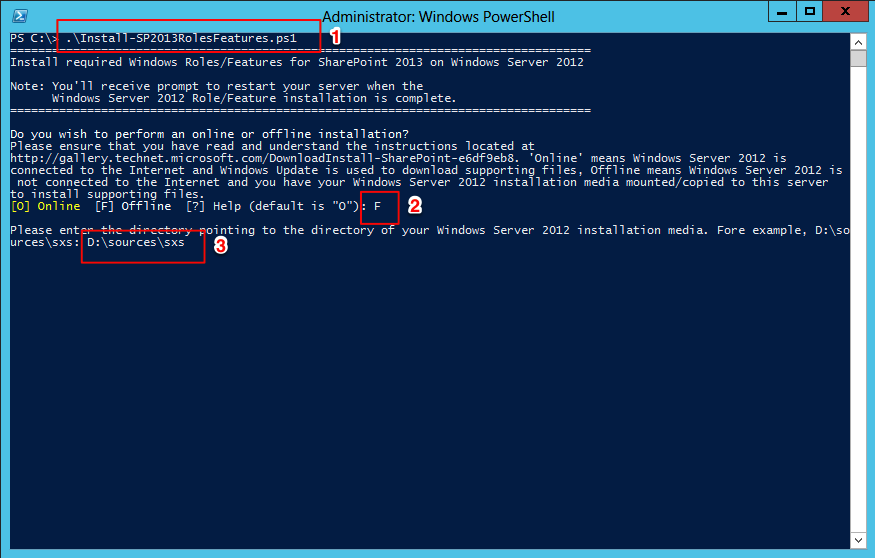
After that there will be more O’s to see, and wait, it runs fairly slow for offline installation. It does required restart after installation finish.
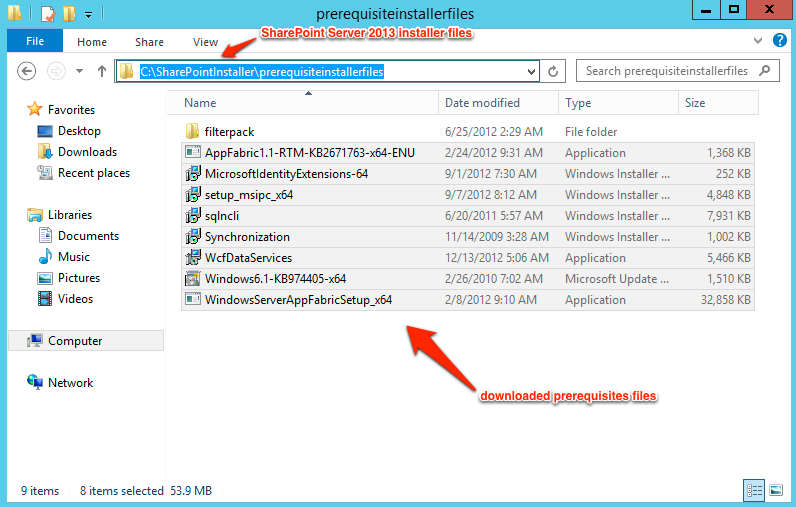
After rebooted, copy everything in the SharePoint Server 2013 installation DVD/ISO into a folder on local drive (I use C:\SharePointInstaller here). Then copy every prerequisites files we downloaded using the PowerShell script into the SharePoint Server 2013 installation folder, inside the prerequisiteinstallerfiles folder. For e.g. C:\SharePointInstaller\prerequisiteinstallerfiles\.
After that head back to PowerShell and run the following command
.\Install-SP2013PreReqFiles.ps1
Then key in folder path for the SharePoint Server 2013 installation folder, e.g. C:\SharePointInstaller.
After that the installation wizard will shows up, click next and agree with the terms, and finish the installation, even though will downloaded files, it still takes time to install. After prerequisite installed, reboot the server.
After rebooted, launch the SharePoint Server 2013 installer.
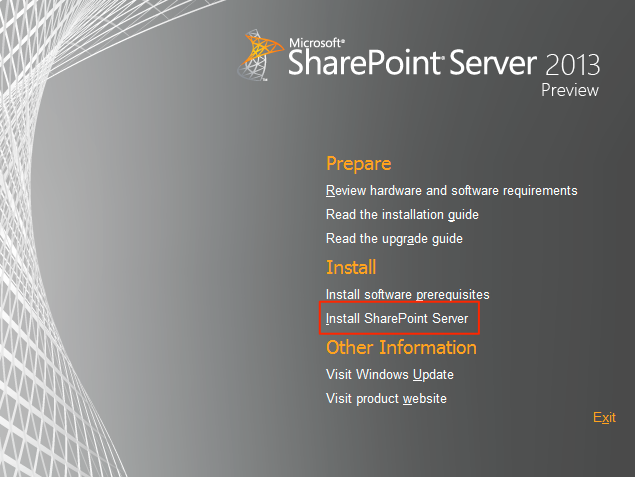
It should get through the prerequisites checking and prompt for serial key, they key should be provided when downloading the SharePoint Server 2013 Preview from Technet.
After agree with terms and condition, click next all the way and the installation started.
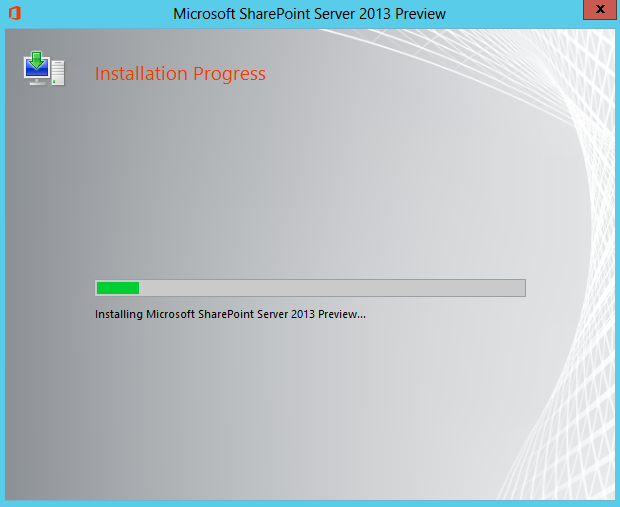
Sit down and have a cup of coffee and wait the installation to finish.
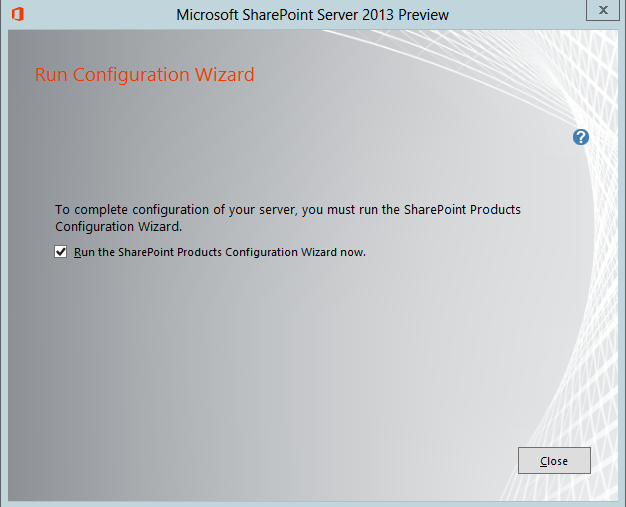
When the installation finish, click close and leave the check box checked and SharePoint Configuration Wizard will pop up.
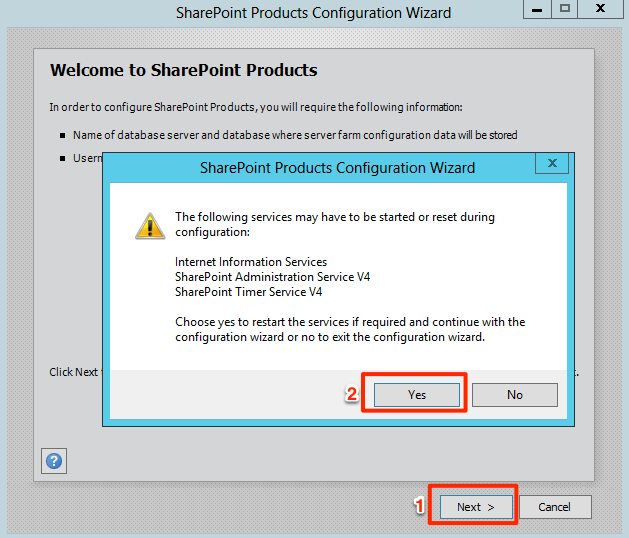
Just click Next and Yes on the dialog.
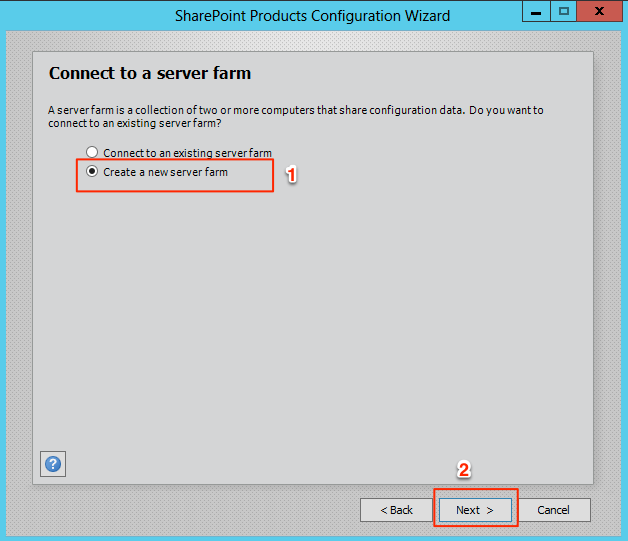
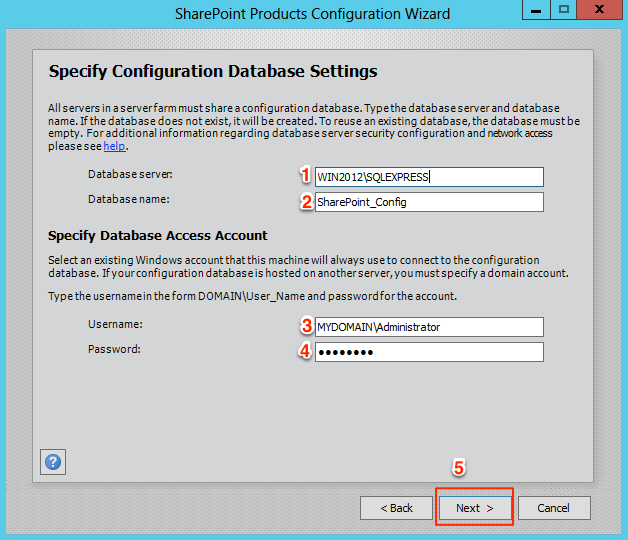
Then key in database settings, key in your credential. Make sure the database service is running.
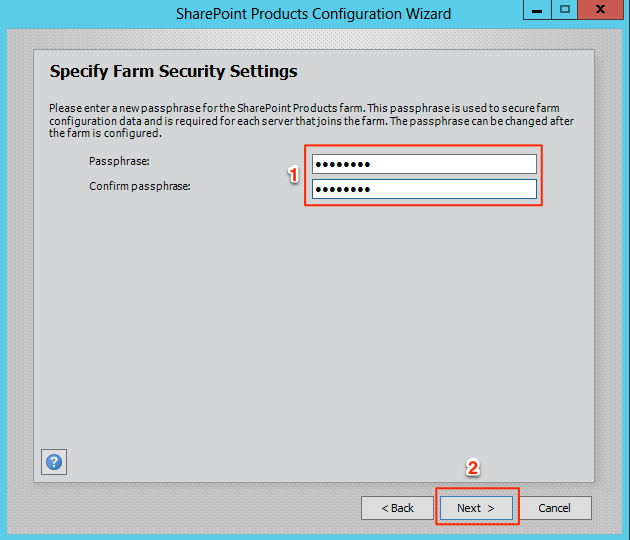
Key in the passphrase.
Next, configure the central administration.
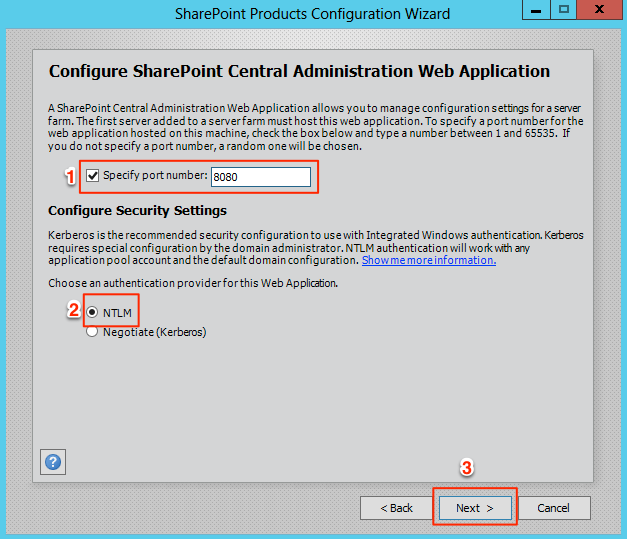
Specify the port number for the SharePoint Central Administration, leave the security to NTLM and click Next.
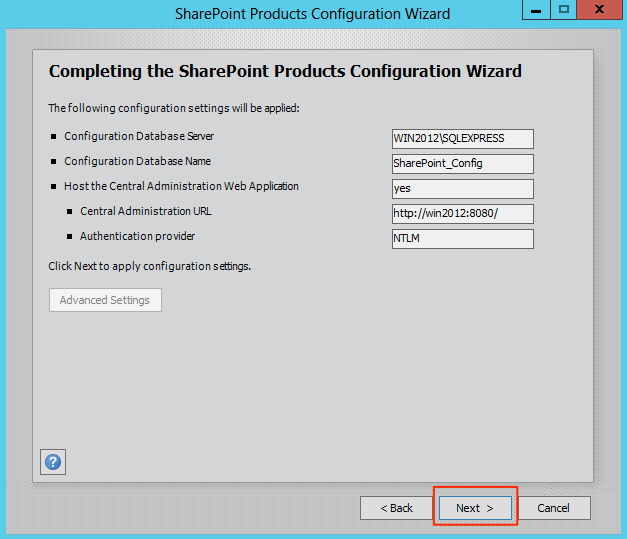
Click *Next to complete the configuration settings, and wait for the some what lengthy configuration process.
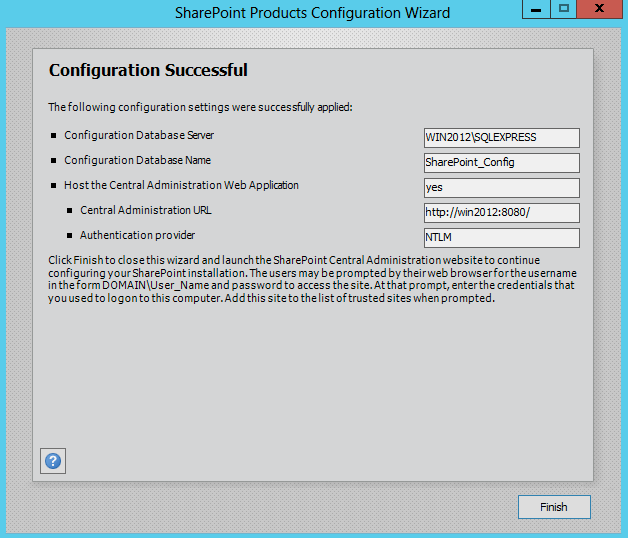
After click Finish button, a browser will be open, just login with the local administrator.
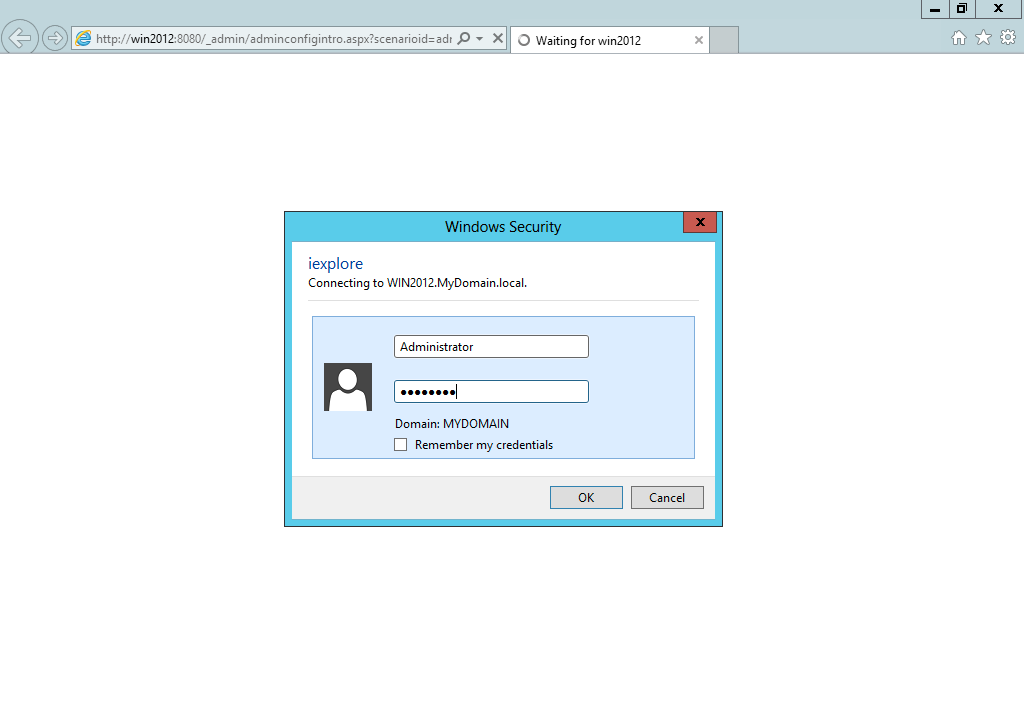
Now to configure the SharePoint, again, make sure the browser are run as Administrator if the current logged in not already an administrator, else there were some links in central administration will be hidden.
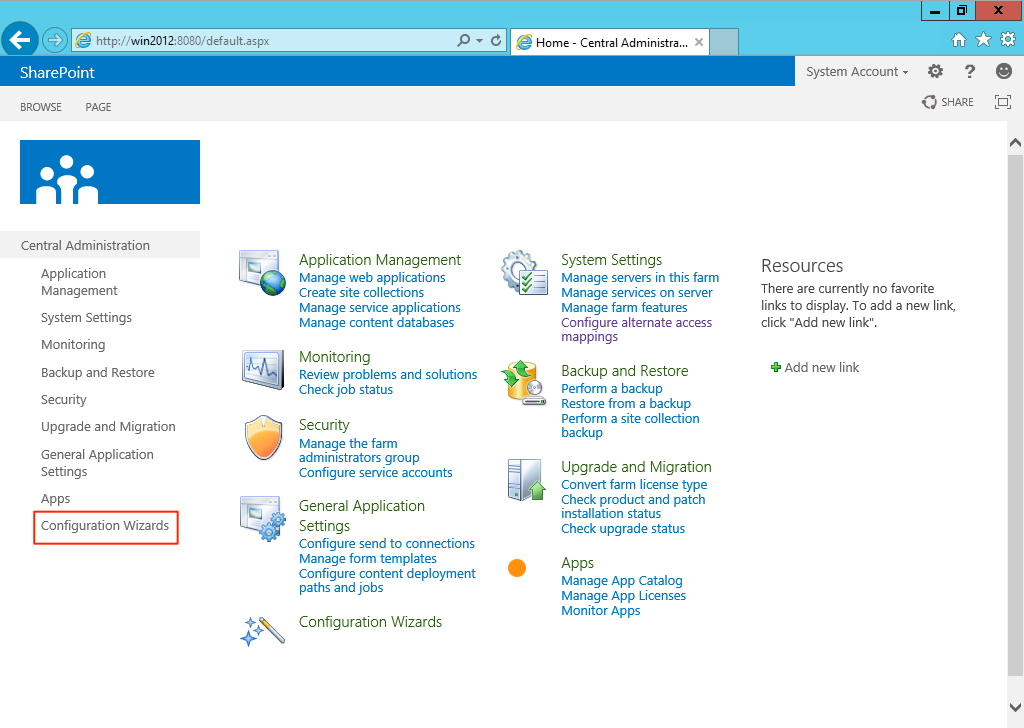
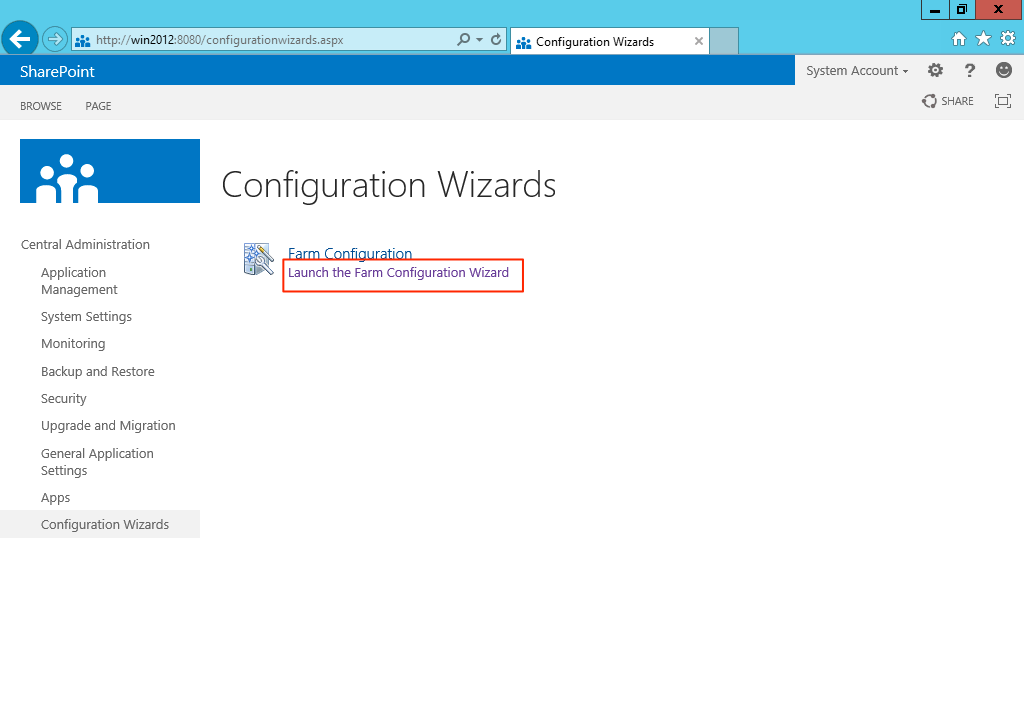
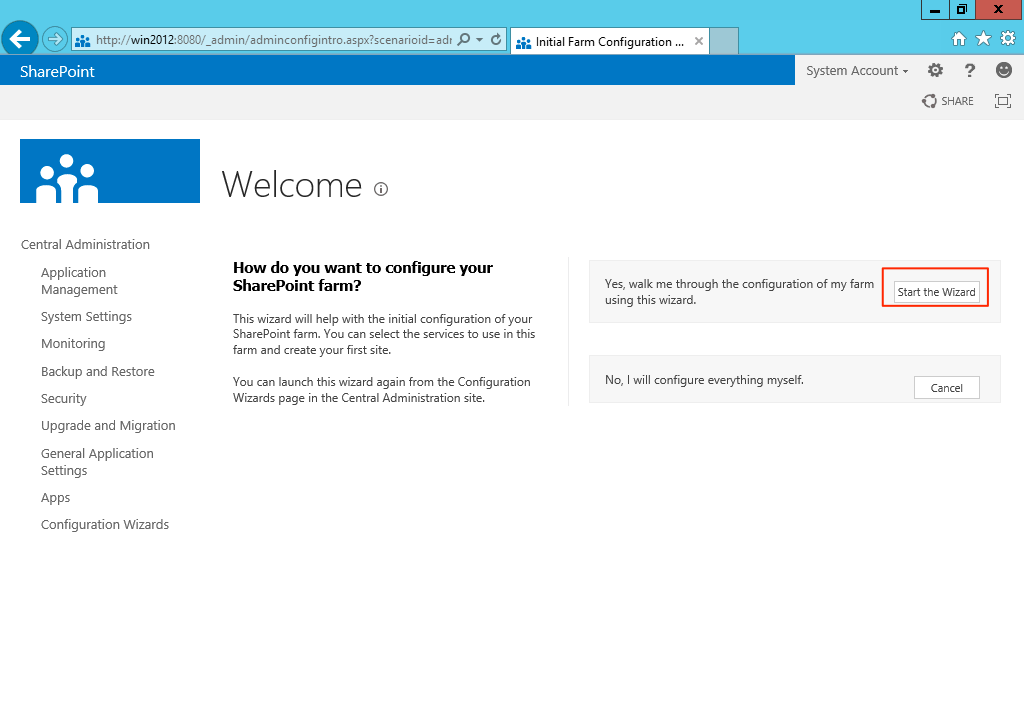
This screen can be found when the first access to the CA. Yes, so many clicks, to get to the actual start wizard button.
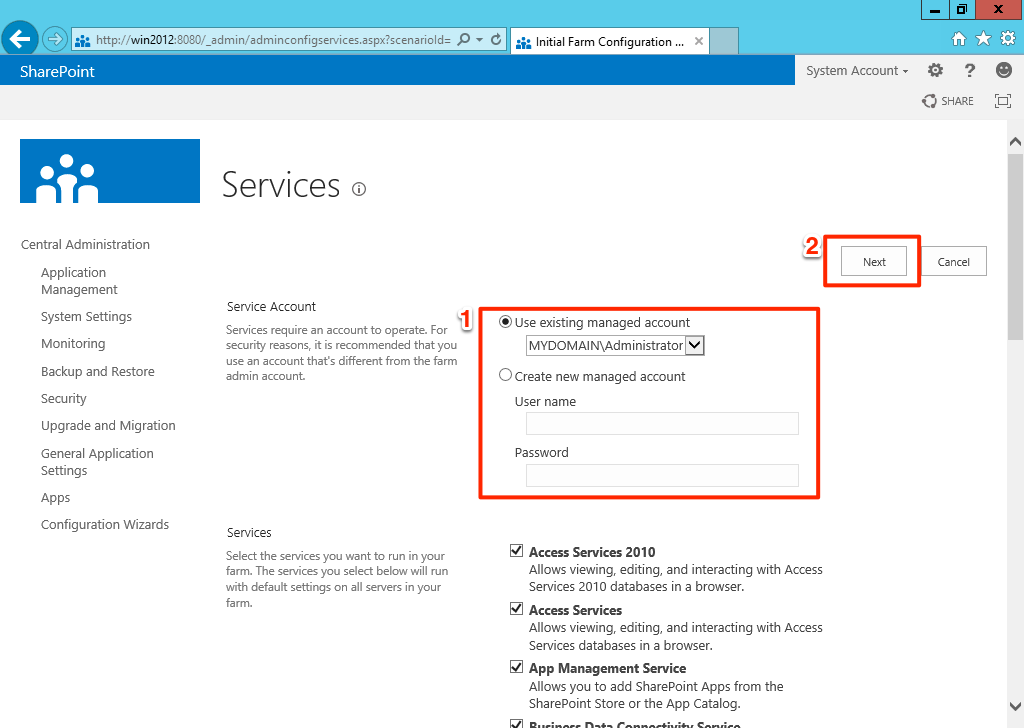
Setup a new managed account or use existing one.
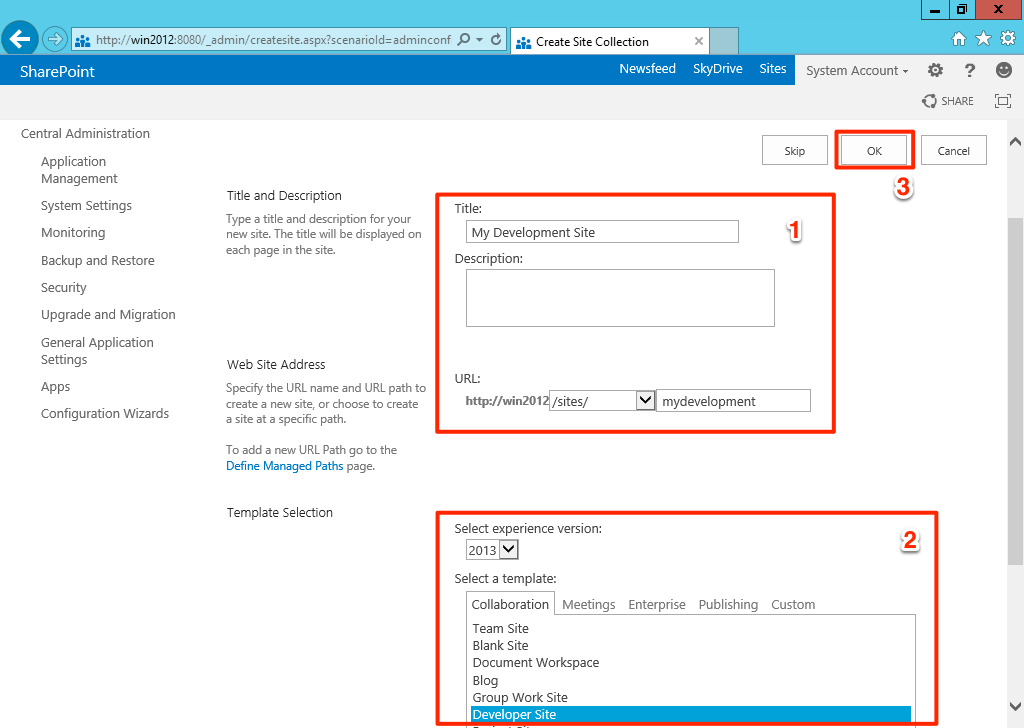
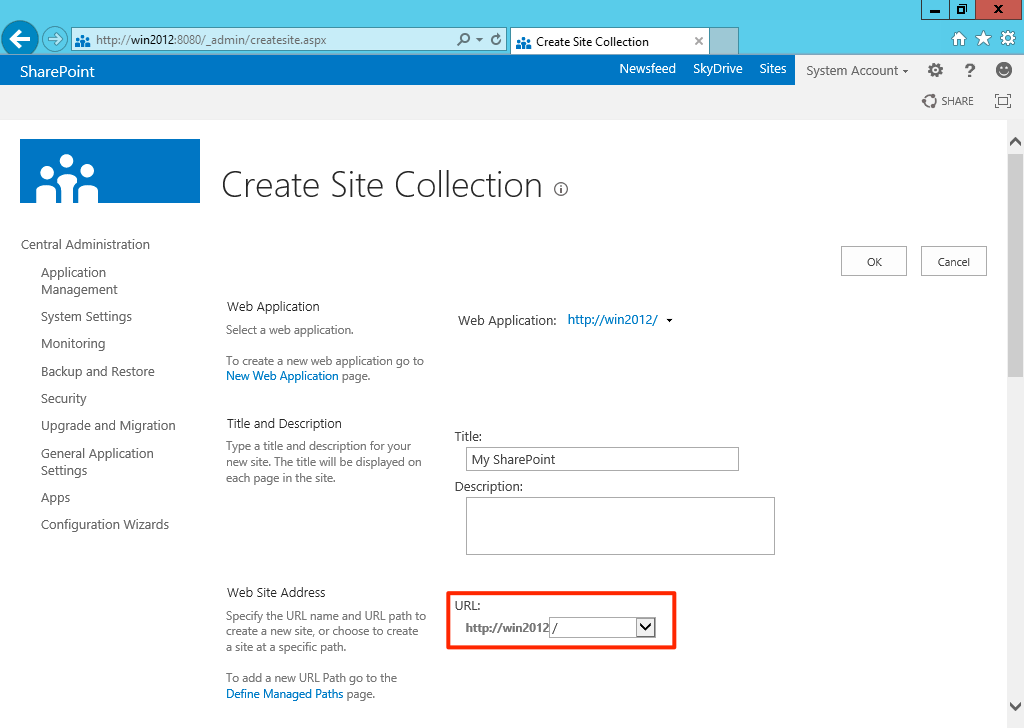
After a long wait, we’re presented with a Create Site Collection page, just key in the detail and click OK, it is fine to skip at this stage (that’s what the Skip button for!), after another long process, we can now access our SharePoint 2013 sites, e.g. http://win2012/sites/mydevelopment, in this example.
We have our site now, but notice if trying to access to http://localhost we get 404 error, this is because we set the URL to having sites when creating the site collection on the screen shot above, to fix that, just set the url to /.
